Antigravity A1 footage analysis
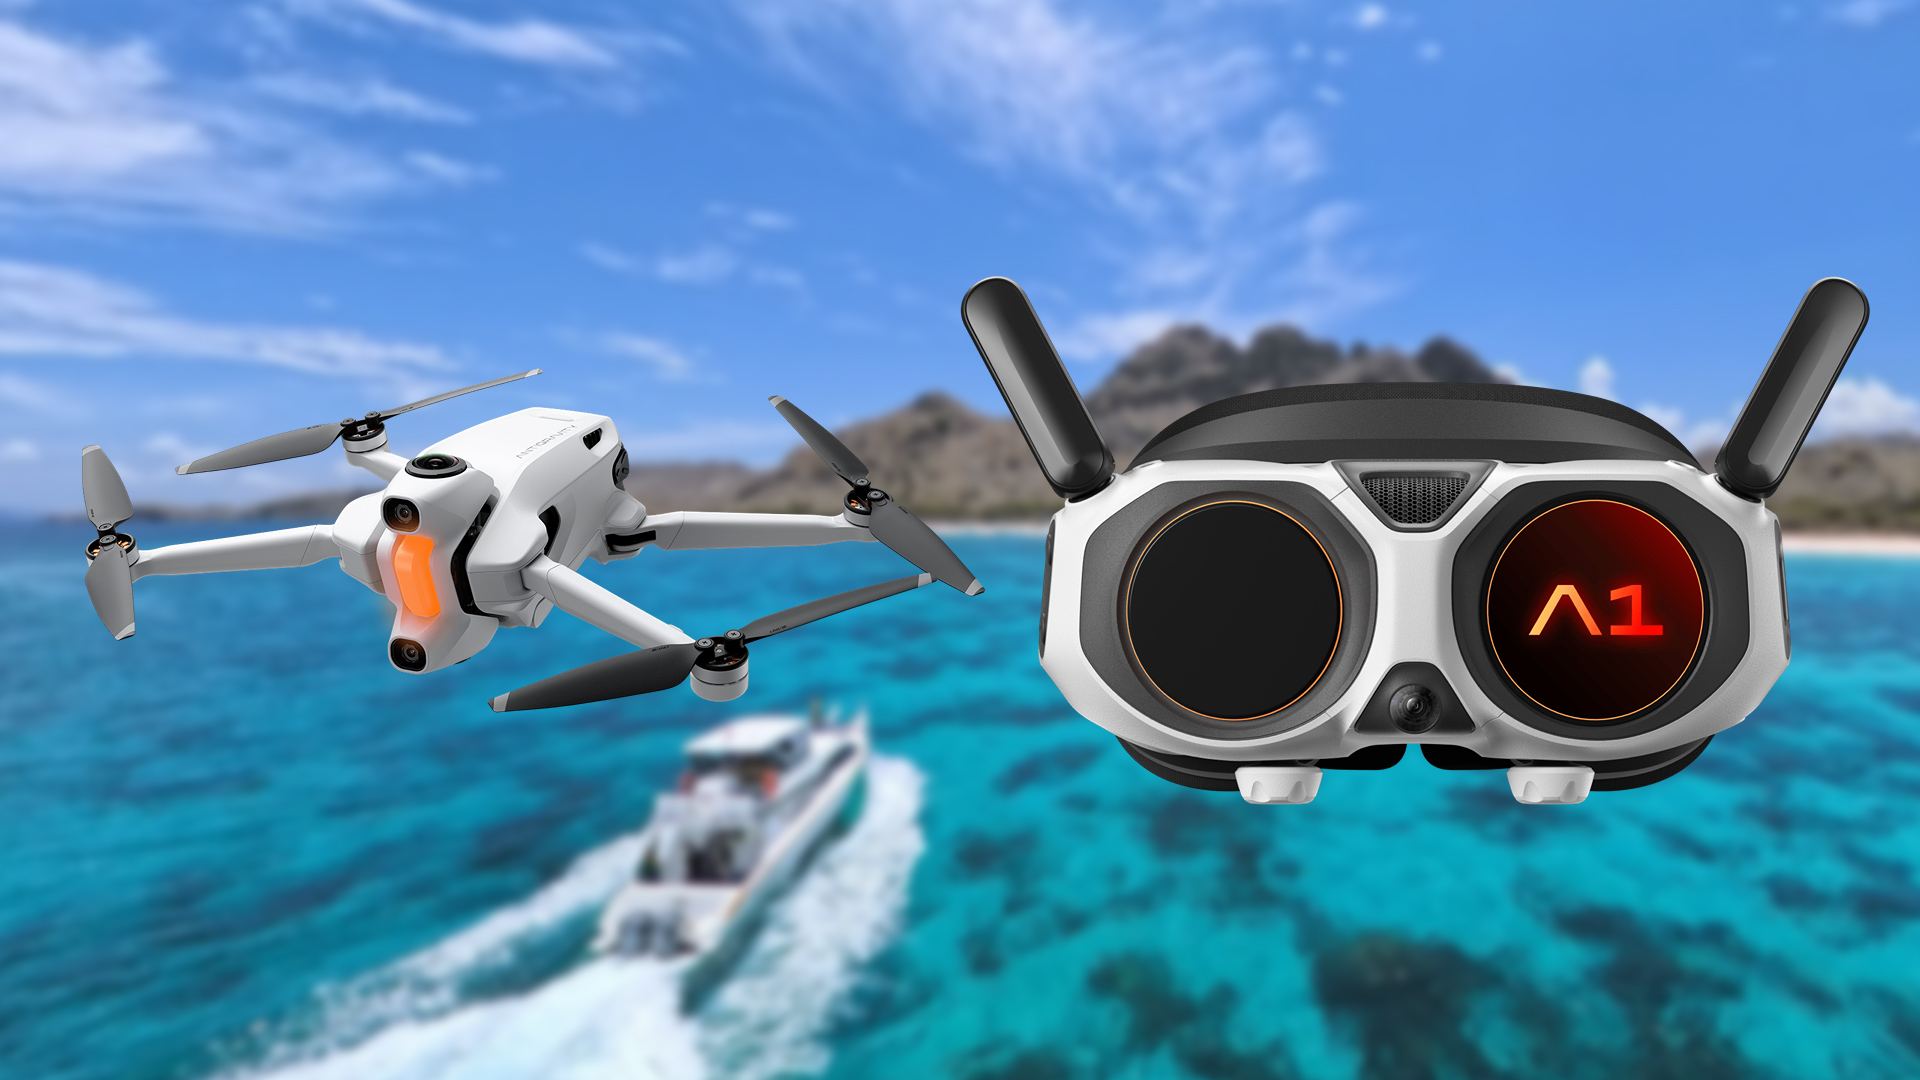
The Antigravity A1 is a 360-degree camera drone, officially launched on July 28, 2025 by Antigravity, a new, independent drone brand that was incubated by Insta360 in collaboration with third-party partners (Best Buy, Buu, Drone Nerds, a subsidiary of XTI Aerospace among others), it uses core technology from Insta360, including its 360-degree imaging, image-stitching algorithms, and the “fly-first, frame-later” workflow familiar from the Insta360 X Series.
The drone has two fisheye lenses, one on the top, one at the bottom, and with that, it produces a 360 image that is transmitted back to the Antigravity Vision Googles, where the drone operator can see the whole 360 image as VR, being able to fly the drone with the Grip Motion Controller, that some users claim is a very intuitive. This drone remind me of a phrase by Arthur C. Clarke: “Any sufficiently advanced technology is indistinguishable from magic”, and there is no question this drone packs some quite advance technology that works like magic.
But flying the drone is one part of the picture, the main focus is what kind of footage can be achieved and produced, so let’s go deep into how the Antigravity drone works, and for that, we need some sample footage, luckily, thanks to a video editing competition made by the brand (which I found way too late), we had access to some sample footage. And as far as I can see, the footage is almost the same as the kind of footage produced by the Insta360 X4 and X5, with some extra metadata from the drone and goggles.
The image
From the sample footage, the VID_20251108_105018_163.insv file has two video streams of 3840x3840px at 29.97fps, in 8-bit BT.709 with a chroma subsampling of 4:2:0, encoded in H.265/HEVC Main @ L6.1, each stream uses around 90Mbps, with an overall bit rate of 180Mbps, so a fast UHS-I microSDXC memory card would be recommended. Here is a snapshot of the footage as it is without stitching:
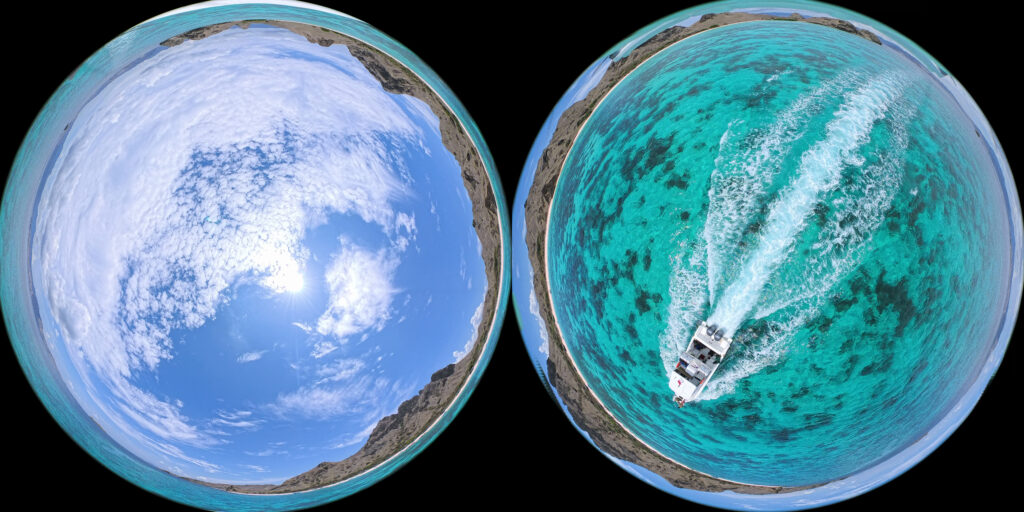
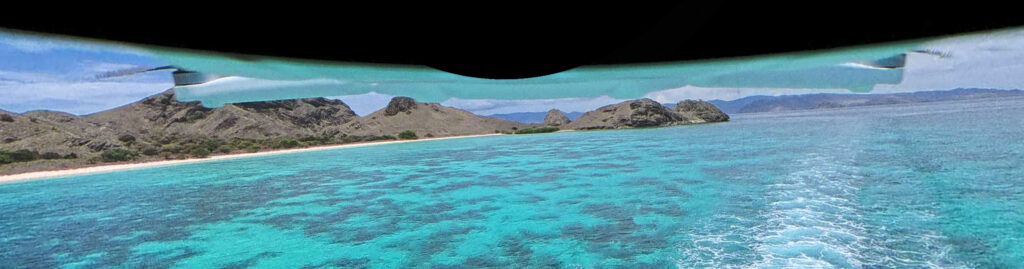
The two fisheye lenses have a field-of-view of around 196 degrees, around 16 degrees on the edges are used to match and stitch both images together, and yes, on the edges some parts of the drone can be seen, but just in the raw footage, not in the stitching software:
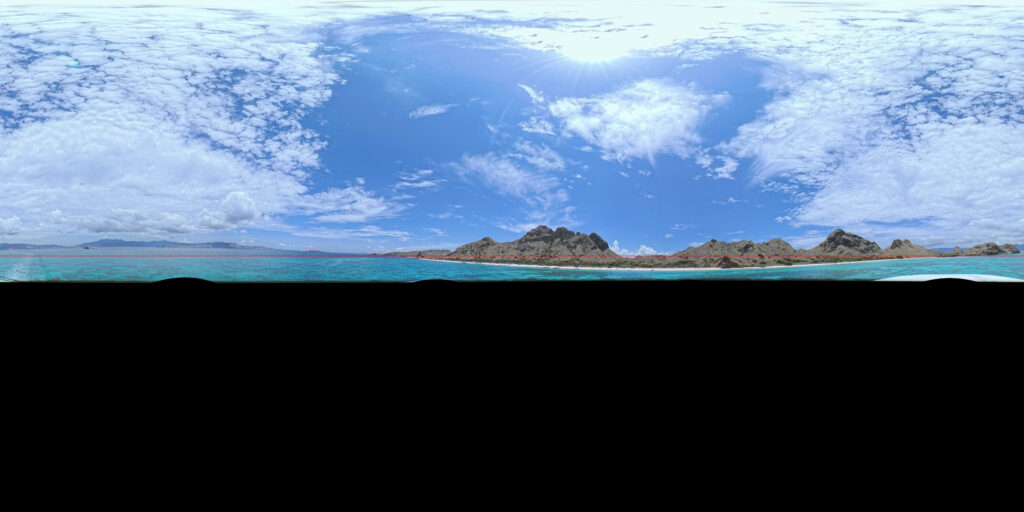
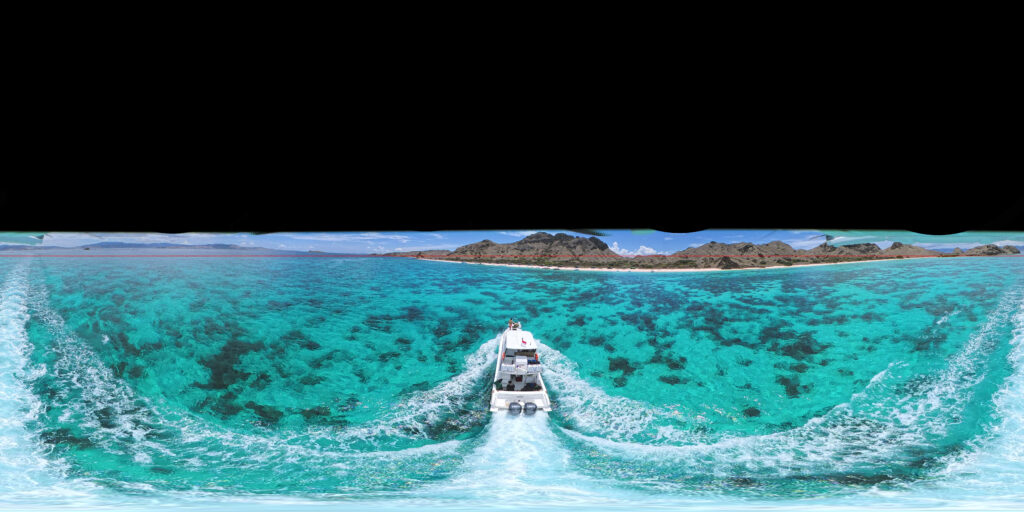
All in all, the final stitched equirectangular image has 7,680px × 3,840px hiding the drone in the stitching, same trick as the famous Insta360 Invisible Selfie Stick:
Even though each camera sensor has a 3,840 x 3,840px with a total of 14,745,600px, the area used is circular, using around 11,581,167 pixels, so theoretically, it would produce an image of 6806 x 3403px and not 7,680px × 3,840px, 88.62% smaller, but considering all the manipulation to make it work as a sphere texture, I think the resolution it is close enough to get the 8K-UHD label, a sensor of 4,336 x 4,336px would produce a true 8K-UHD image if my math doesn’t fail me.
The footage and the Antigravity Studio app
Antigravity and Insta360 promote the idea of re-framing the video in post production to deliver a preselected camera movement and angle, even allowing a field-of-view modification in post or selecting the goggles field of view, and after reframing, the footage can be exported up to 4K-UHD, 3840px × 2160px, both apps are almost identical, and the mobile app offers a great deal of templates and transitions that can personalize an produce great and flashy results.
One of the best features of both apps, the Antigravity Studio and the Insta360 Studio desktop app, is Deep Track. When it correctly locks onto the target (which, unfortunately, happens less often than I’d like), the mobile apps on iOS and iPadOS generally provide a noticeably better tracking experience.
Some key observations on the Antigravity Studio app for macOS:
- The “Present viewing direction” control should be placed right below the Reframe tab. By default, it should always start in Free View mode, especially since the main goal is reframing.
- The 360 View tab is affected by the “Present viewing direction” setting, but the relevant options aren’t available there. When sharing a 360 video, the default should be Free View.
- To enter a clip, you have to double-click its thumbnail, but it starts playing automatically. It would be great to have an option to disable auto-play on entry.
- A feature to set all transition keyframes at once would be extremely helpful.
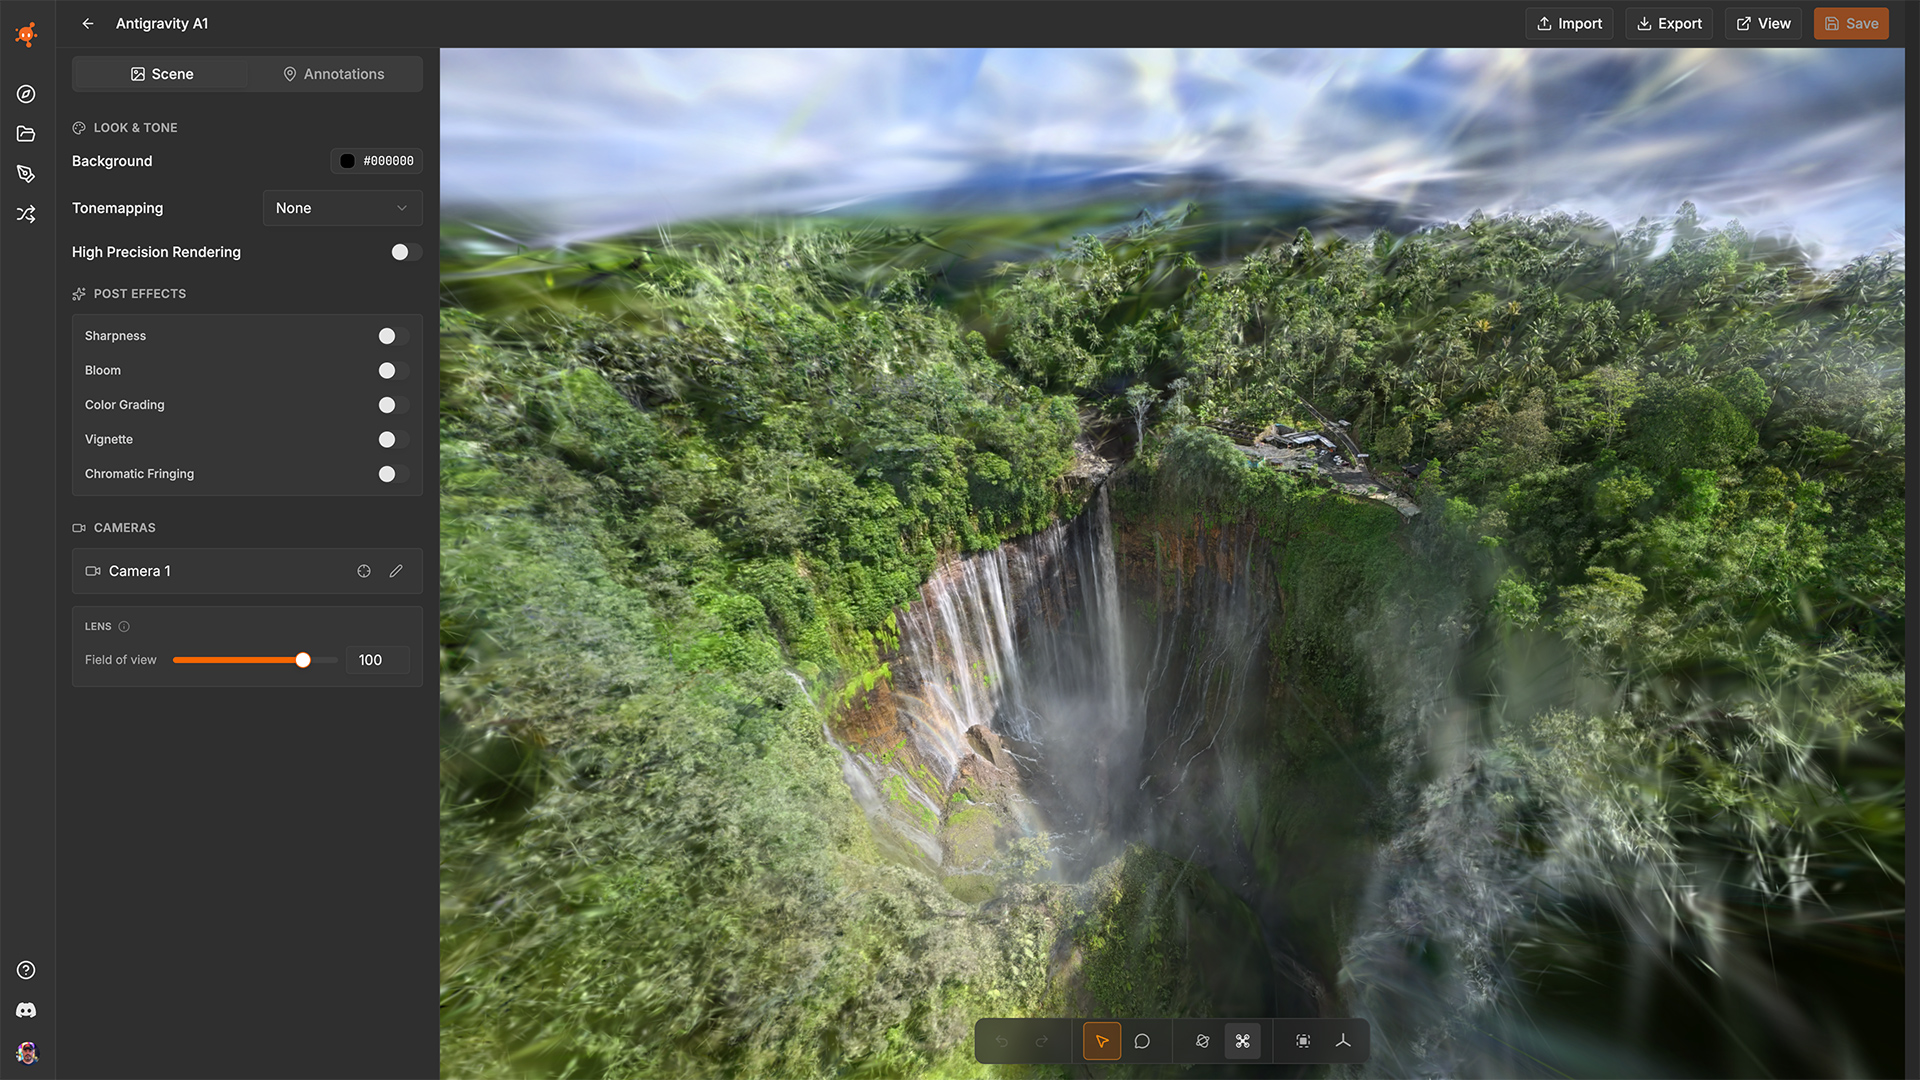
Now, reframing is cool, but I think the drone has a great potential for 360 VR video, and for that, you’ll have to:
- Open the clip in the Antigravity App.
- Select “Free View” in the “Preset viewing direction” button.
- Select your stitching algorithm, I prefer IA Stitching.
- Press the Export button.
- Select 360 video.
- Select ProRes if you want to do process the file in other app.
- Add to queue
Seven steps for each file, I wish there was a faster alternative. Now, when it comes to publish a 360 video, YouTube works quite well, allowing the use of the gyroscope in any mobile device to choose where to look at, and the typical gammer keybinding for desktop devices, but sadly, the resolution is limited to 3840px x 2160px, a 4K anamorphic version of the original 50% width and 56.25% height, and as far as I know, it takes days to be encoded in 8K:
For being a brand new company releasing its first drone, Antigravity did an amazing job, the footage is amazing for what it is, I guess in the near future some improvements would include having 10 bit LOG video, a 4:2:2 chroma subsampling, maybe a RAW video version, or bigger more low light sensitive sensors, only time will tell, for now, the Antigravity A1 come in packages offerings a range from $1,600.00 for the Standard package, to $2,000.00 for the Infinity package, and I think it is worth it.
By the way, I think this drone is an excellent tool for 3D Gaussian Splatting.