Addressing DaVinci Resolve’s color shift
Quick update: This video of Creative Video Tips address this issue in newer macOS and Resolve versions:
I should add to the title “Using a Macintosh”, because that’s where the problem is; see, Apple is well known for doing things their way, in many ways it is better, like the DPI scaling using multiple displays, Windows sucks at that, but the way it handles color, well, is quite entangled.
Dan Swierenga wrote a good article that goes deep into this issue and offers some workarounds, a recommended read, but considering that most enthusiast that produce for YouTube use Rec.709/sRGB, I’ll keep this article short, here is how to prevent the color shift:
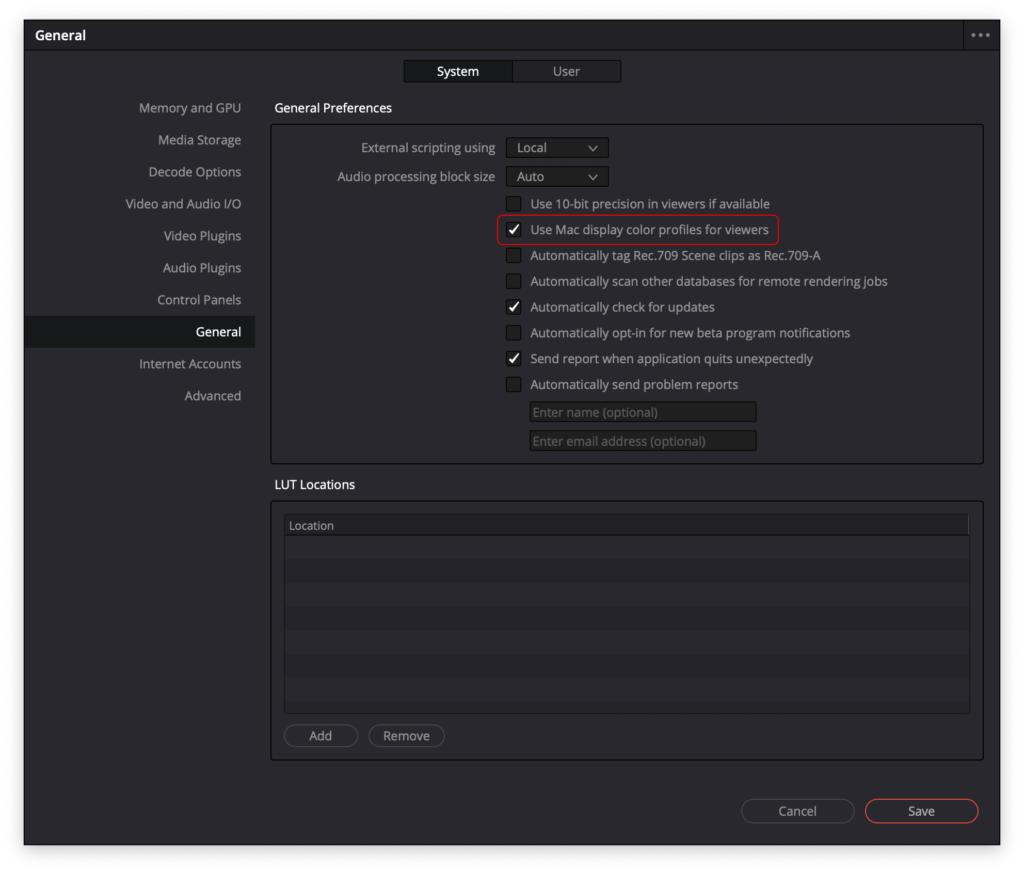
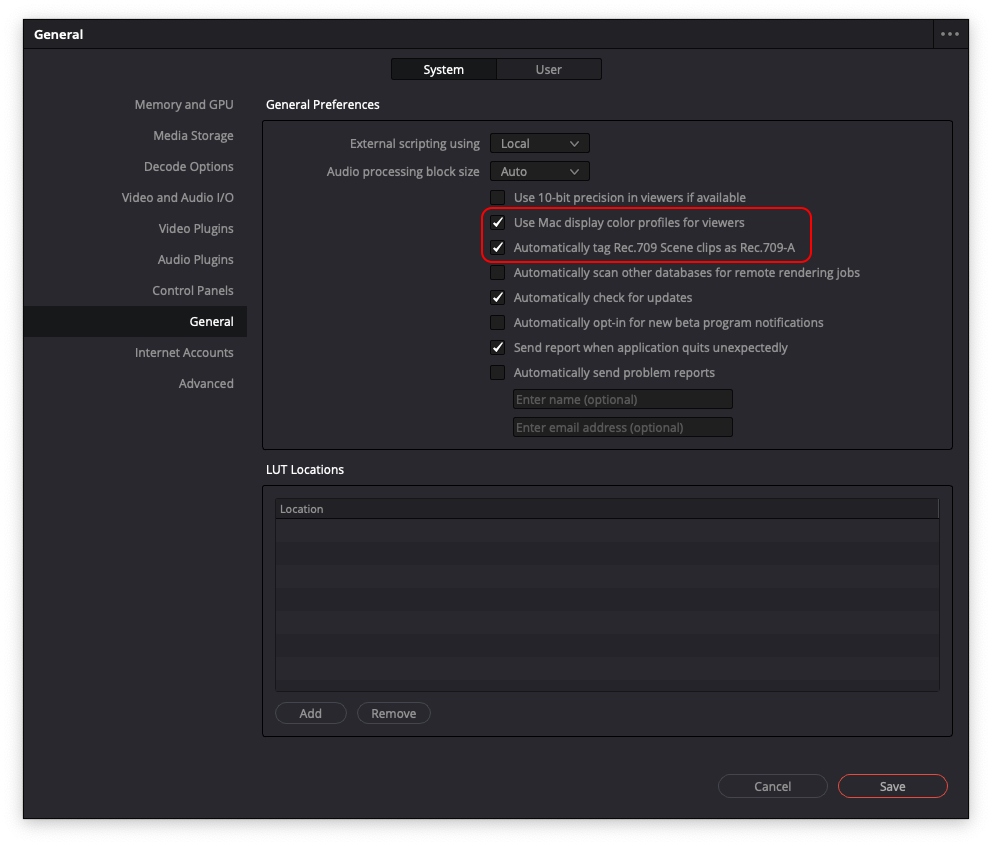
- Go into Resolve General Preferences and check the “Use Mac display color profiles for viewers”.
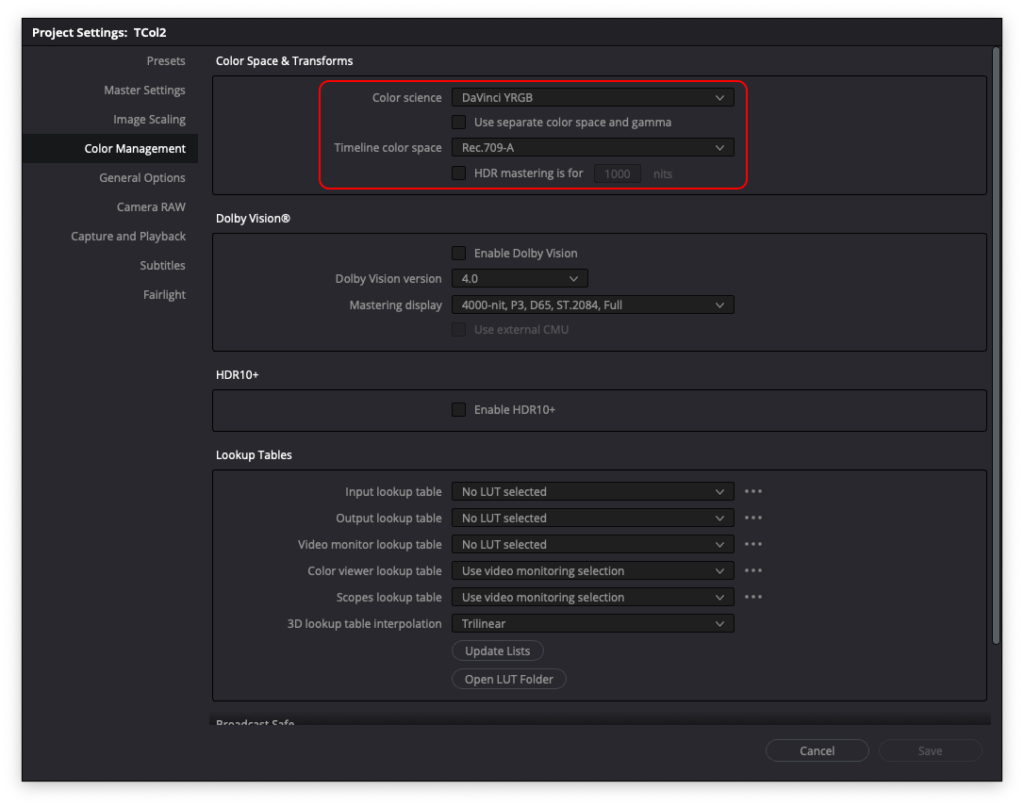
- Choose “sRGB” for your project output color space.
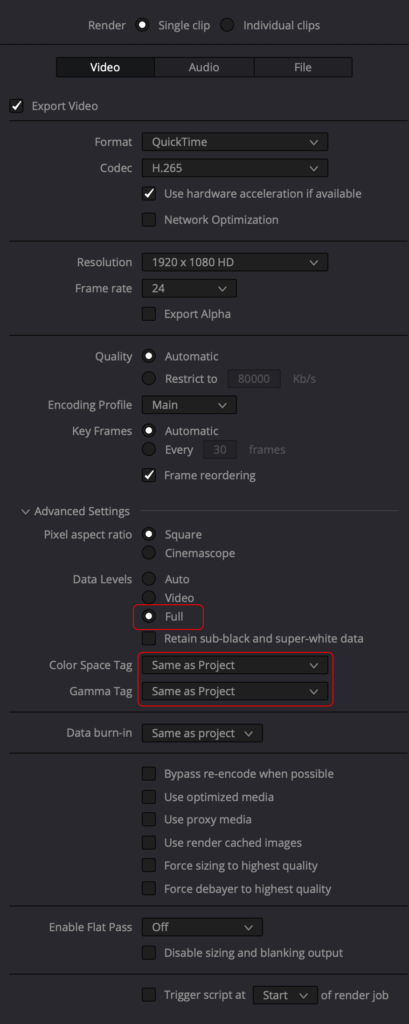
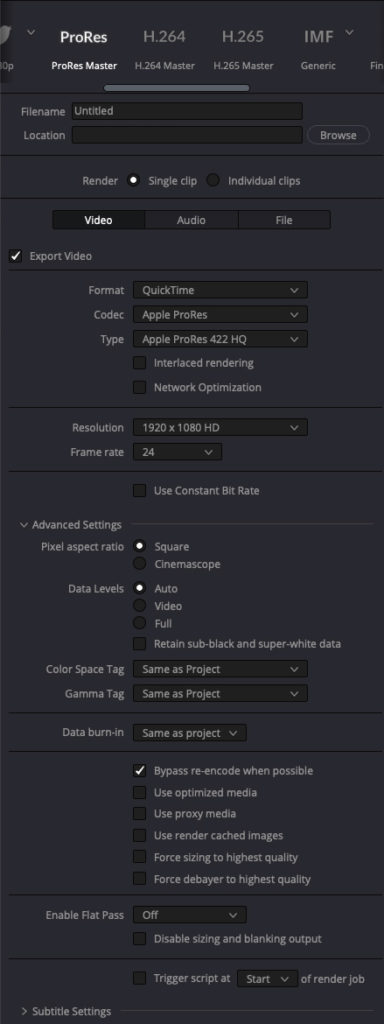
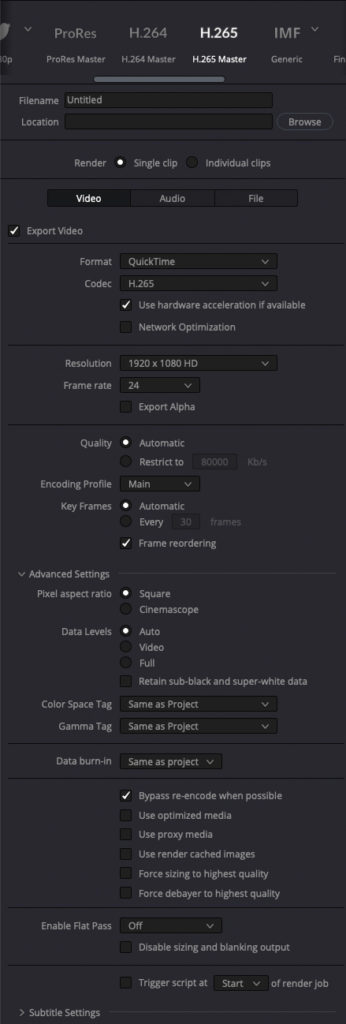
- Let resolve tag your output file.
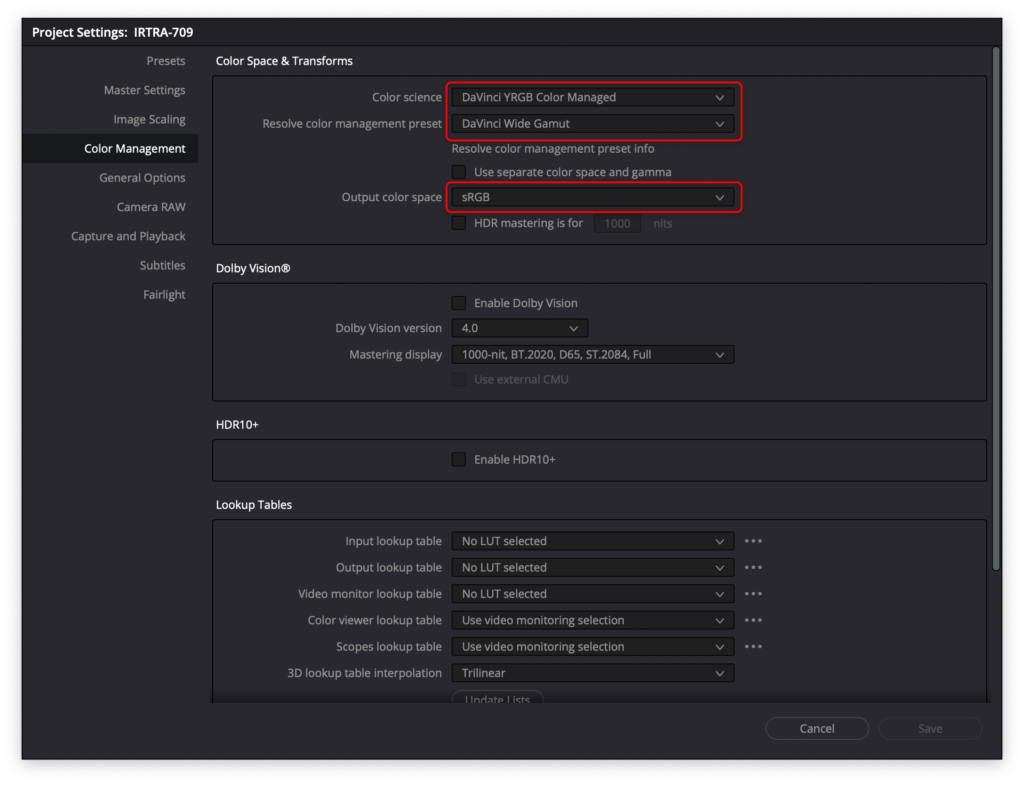
In other words, you are just disabling color management for your delivery, cheers!
UPDATE: After reading the latest update from Dan Swierenga, I used the following settings:
Also, this is a recommended video: