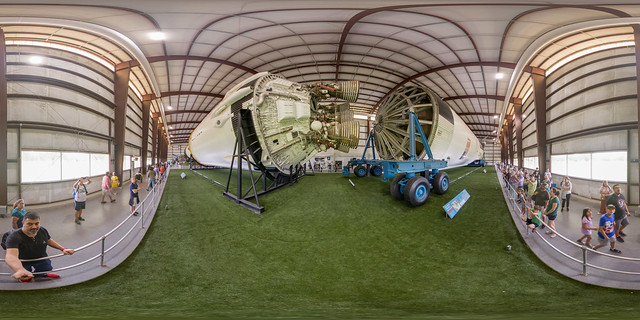
Better images with the Insta360 X3
While I own several DSLRs and Mirrorless cameras, there are moments during vacations when capturing the entire experience proves challenging. From vast attractions to cramped spaces, some scenes simply exceed the capabilities of traditional lenses. This is where the Insta360 X3 360° Camera truly shines.
Although I’m aware that the Insta360 ONE RS 1-Inch 360 Edition can produce clearer images, its bulkiness makes it impractical for day-long excursions through parks. That’s why I prefer the Insta360 X3. However, straight out of the camera, the images may not meet expectations. Therefore, I’ve developed a workflow to enhance the quality of 360° images.
Capturing the image
To capture the maximum amount of data for post-processing, use PureShot on your camera. This setting will generate a RAW DNG file, optimizing image quality. PureShot employs a dual-exposure technique, capturing one frame for luminance to enhance noise reduction. For optimal results, apply a +1 stop exposure compensation (EV), following the well-known “expose to the right” (ETTR) principle. You can leave the white balance on auto. Additionally, select a resolution of 72MP and set a 5-second timer to minimize camera shake. If you are including yourself in the image, aim to maintain eye level and keep your eyes open for a natural appearance. Conversely, if you wish to remove yourself from the picture later, position the camera above you during capture.
The post processing
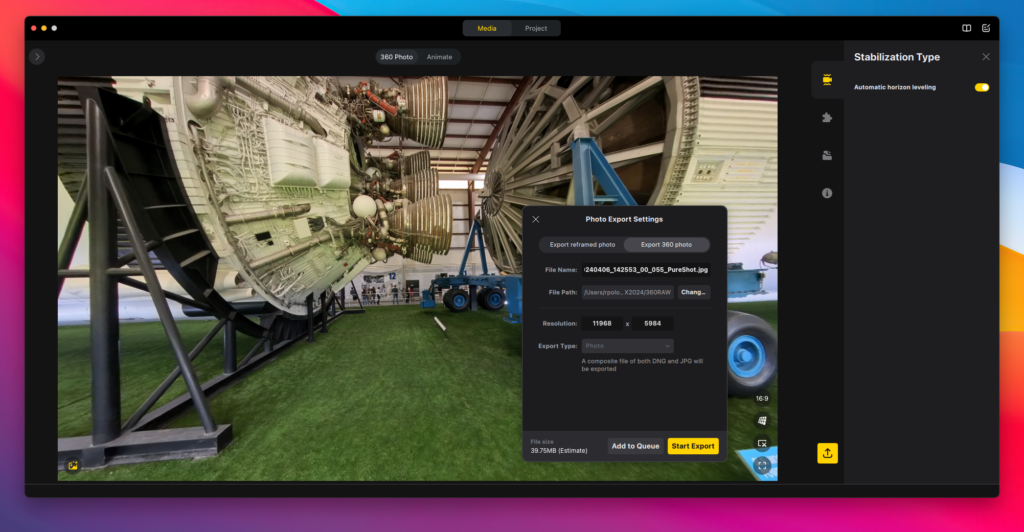
To transfer your files to your computer, connect your camera directly to your PC using a USB cable or use a card reader. Processing images from your hard drive is faster than from the SD card. Next, open the Insta360 Studio app and drag all your image files into it. The app will read the metadata and display your images. Select the image you want to process, ensuring that “Automatic horizon level” is enabled. Then, navigate to the “Photo Export Settings” and choose the “Export 360 Photo” tab to export your photo to your desired directory. This will produce both a JPG and a DNG file due to the PureShot option.
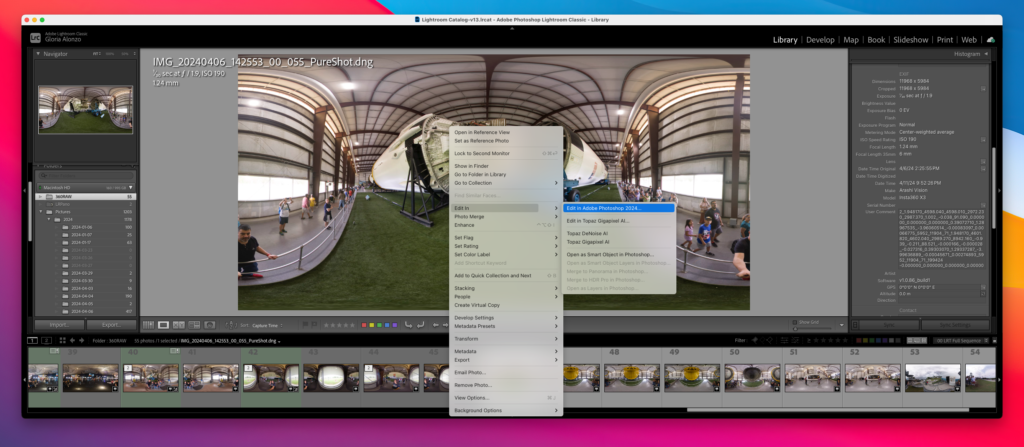
After exporting your images, delete the JPG files and keep only the DNG files. Import these DNGs into Adobe Lightroom, which will maintain metadata integrity and expedite export times.
In Adobe Lightroom, switch to loupe mode, right-click your DNG file, and select “Edit in Adobe Photoshop.” Although Lightroom can perform this function, it sometimes creates a hard line along the image borders, and this will show in your panorama image.
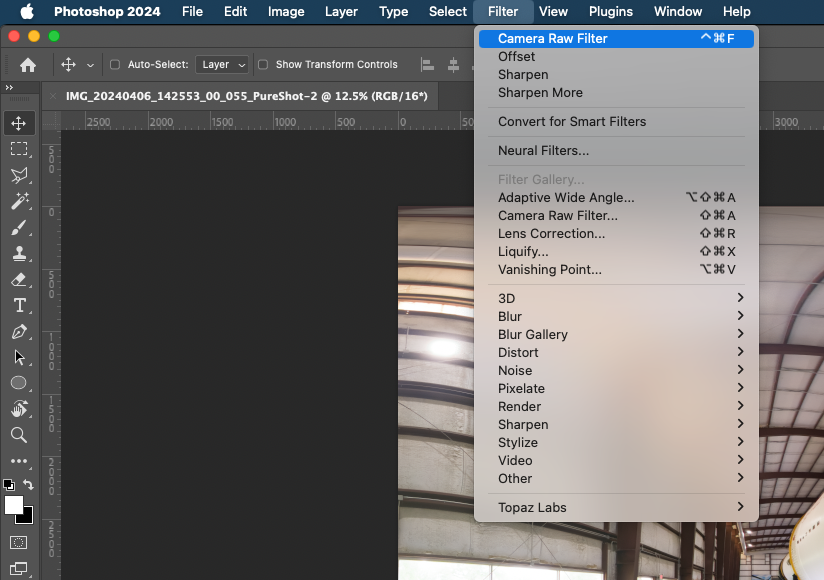
In Adobe Photoshop, open the Camera Raw Filter dialog and adjust your image to your desired appearance. Typically, I reduce highlights and whites, increase shadows, apply a custom white balance, utilize some dehazing, and add sharpening. However, these settings are customizable based on your preferences. Once adjustments are complete, click “OK.”
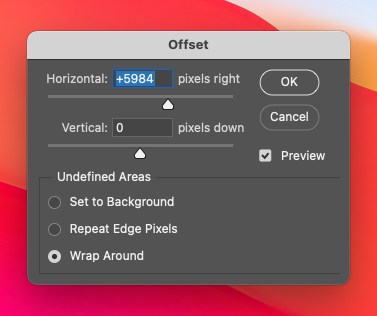
Now, to identify the line produced by Camera RAW, apply the Offset filter located under the “Other” filters category. Ensure that the offset value is half the width of your image. For example, if your image dimensions are 11968x5984px, set the offset to +5984.

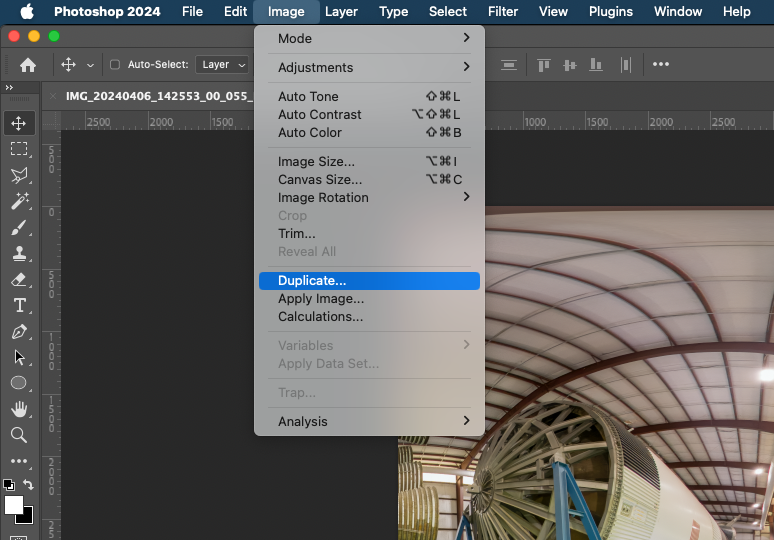
Now, let’s duplicate the image to preserve a copy with the line produced by Camera RAW.
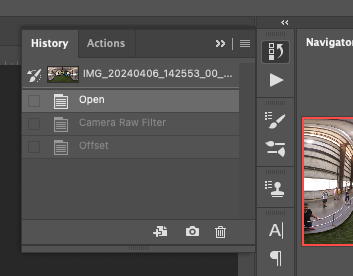
Then, revert to the original image by navigating to the History panel and selecting the initial state.
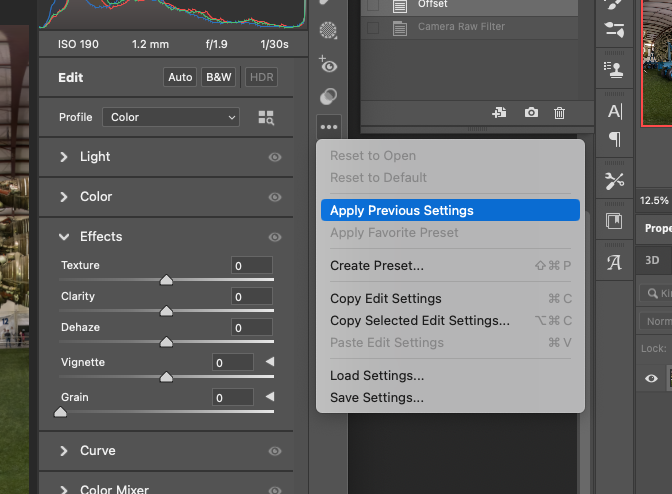
Apply the Offset filter with the same settings as before. Next, open the Camera Raw Filter dialog and instead of manually adjusting the settings, click the three-dot button and choose “Previous Conversion.” This will replicate the previous adjustments on the image with the positive offset.
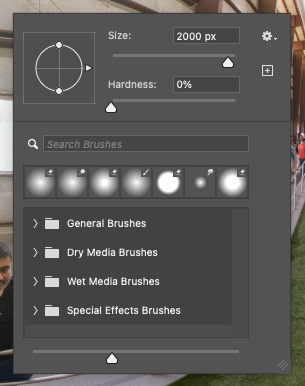
Now, copy the duplicated image and paste it onto the original. To do this, select the duplicated image, copy it, return to the original image, and paste it. You can close the duplicated image to free up memory. Using the delete brush tool, remove the middle portion of the newly pasted layer. I typically use a brush size of 2000px with 0% hardness.
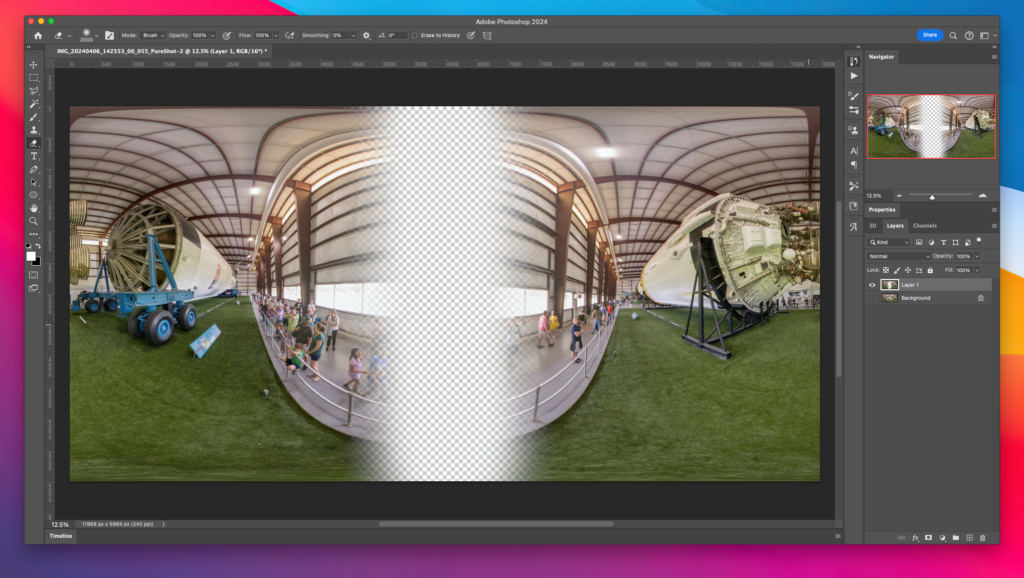
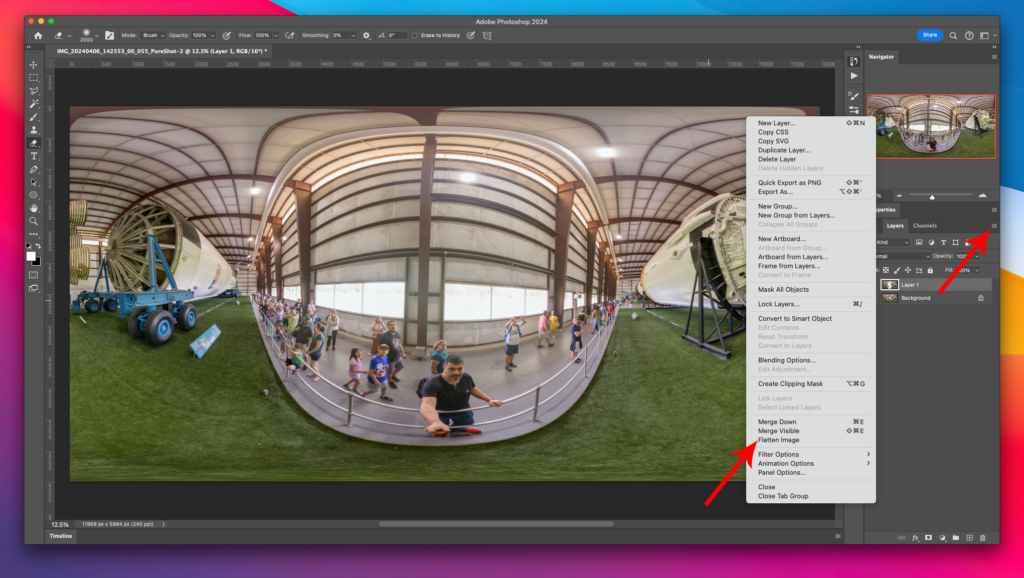
Once you’ve deleted the middle section of the duplicated image layer, flatten the image and save it.
Fixing the horizon
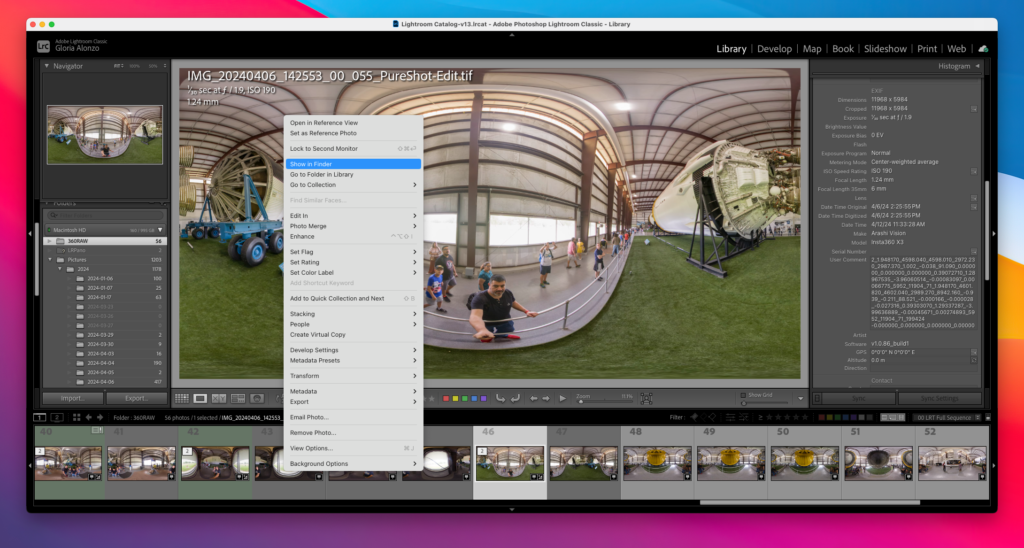
Returning to Adobe Lightroom, right-click your newly processed TIF image and select “Show in Finder.” This action will display the current file in your Finder. Next, open the image in Affinity Photo 2. Although this is a different application, it’s the most effective tool for correcting the horizon level and direction of your 360° image.
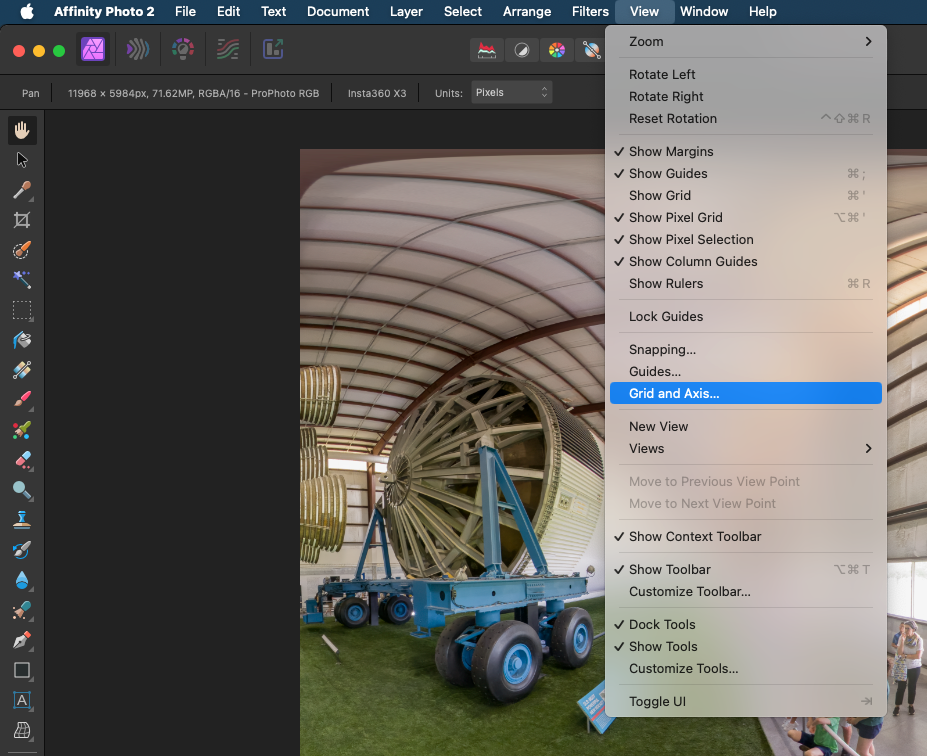
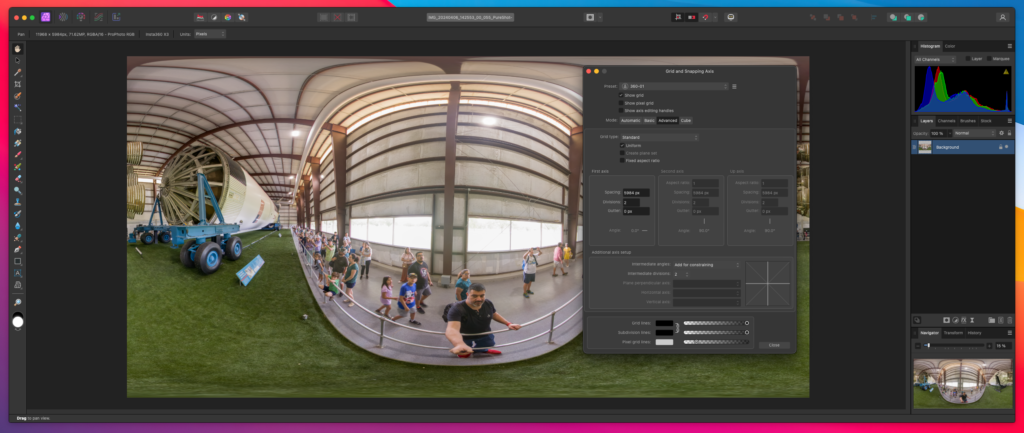
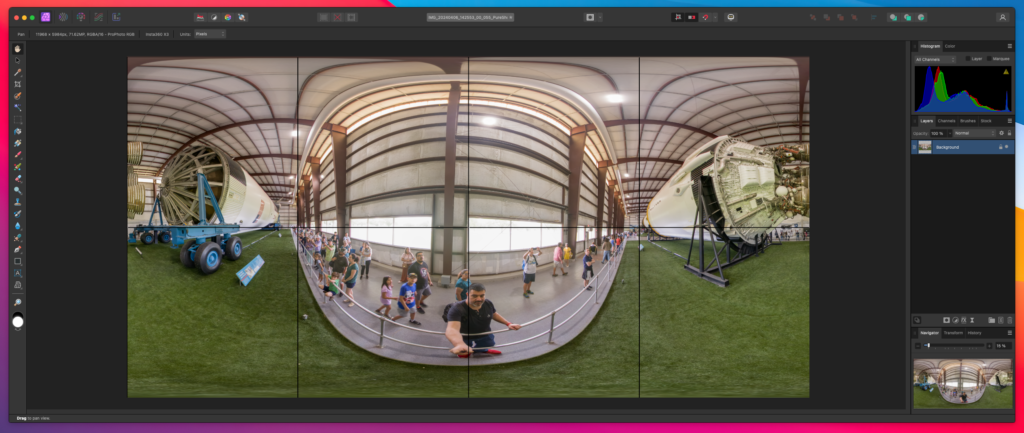
In Affinity Photo 2, navigate to the “View” menu and select “Grid and Axis.” This action will open the Grid and Snapping Axis panel. Enable only the “Show grid” checkbox. Then, select the “Advanced” tab and choose the “Standard” grid type. Select “Uniform” and input half of the image width in pixels into the “First axis spacing” field. For example, if your image width is 11968px, enter 5984px. Then, select “2 divisions” to create a 4×2 grid that will assist in leveling the horizon.
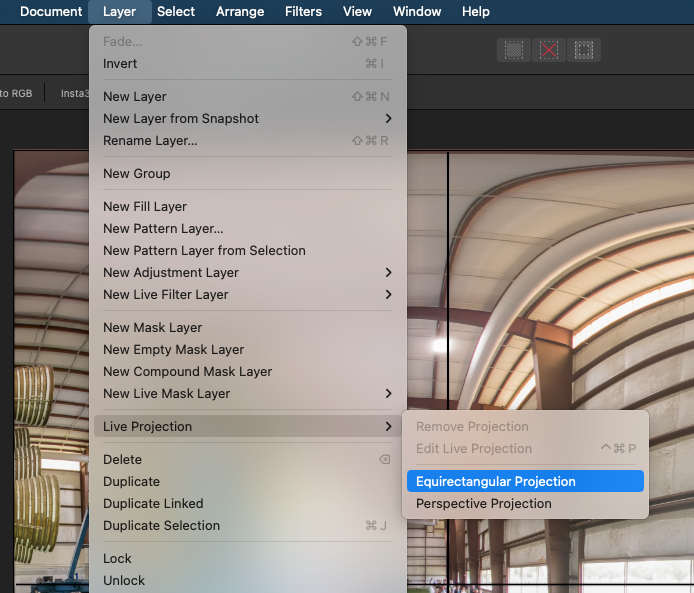
Next, go to the “Layer” menu, then “Live Projection,” and finally “Equirectangular Projection.” This will display your image as a 360° sphere.
Utilize the sliders in the top left corner to adjust the Heading, Pitch, and Straighten values.
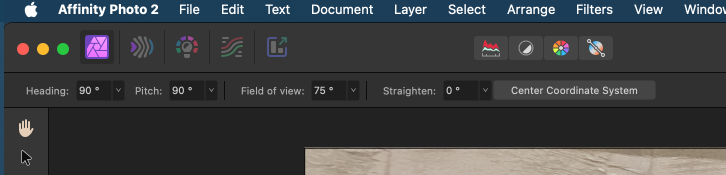
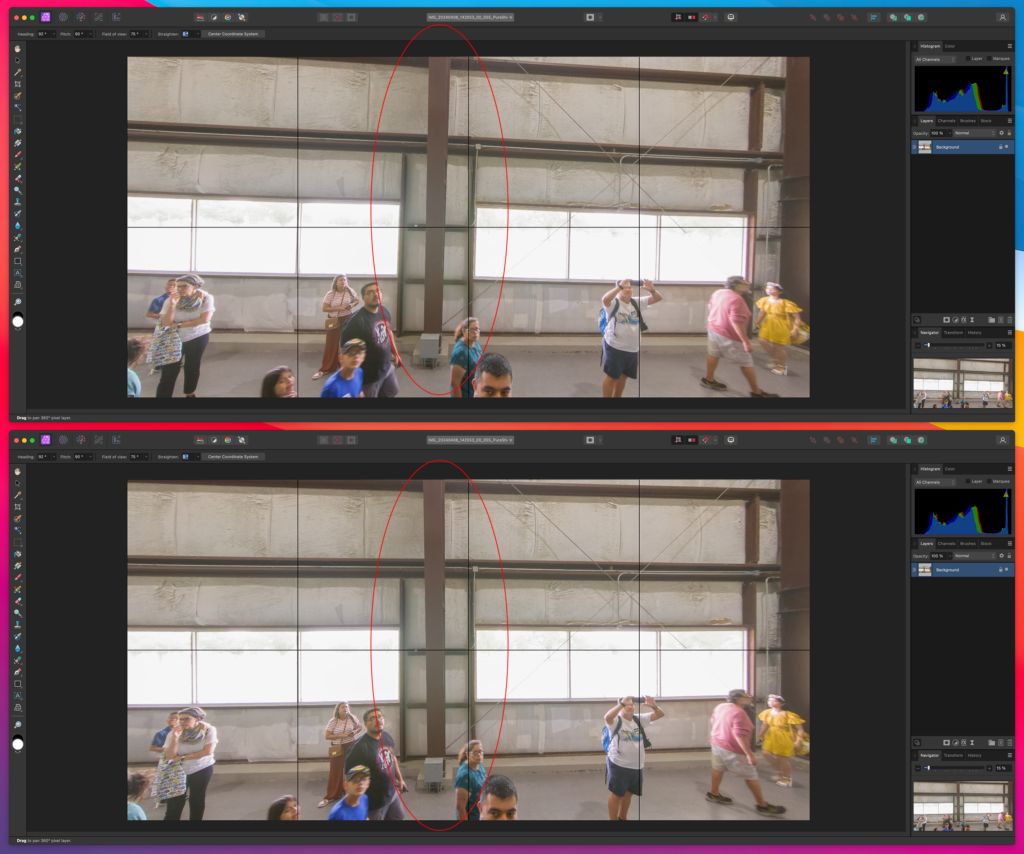
Start by adjusting the Heading slider to identify any uneven areas of your sphere. Then, use the Straighten slider to level the image. For precise adjustments, you can input specific values and use the up and down arrow keys on your keyboard. Once the view is leveled, press the “Center Coordinate System” button. Repeat these steps for each of the four sides of the sphere until the image appears straight.
After leveling the sphere, select your Heading, and once again, press the “Center Coordinate System” button. This will establish the center of the image when projected online, whether on platforms like Facebook, Flickr, or momento360.com.
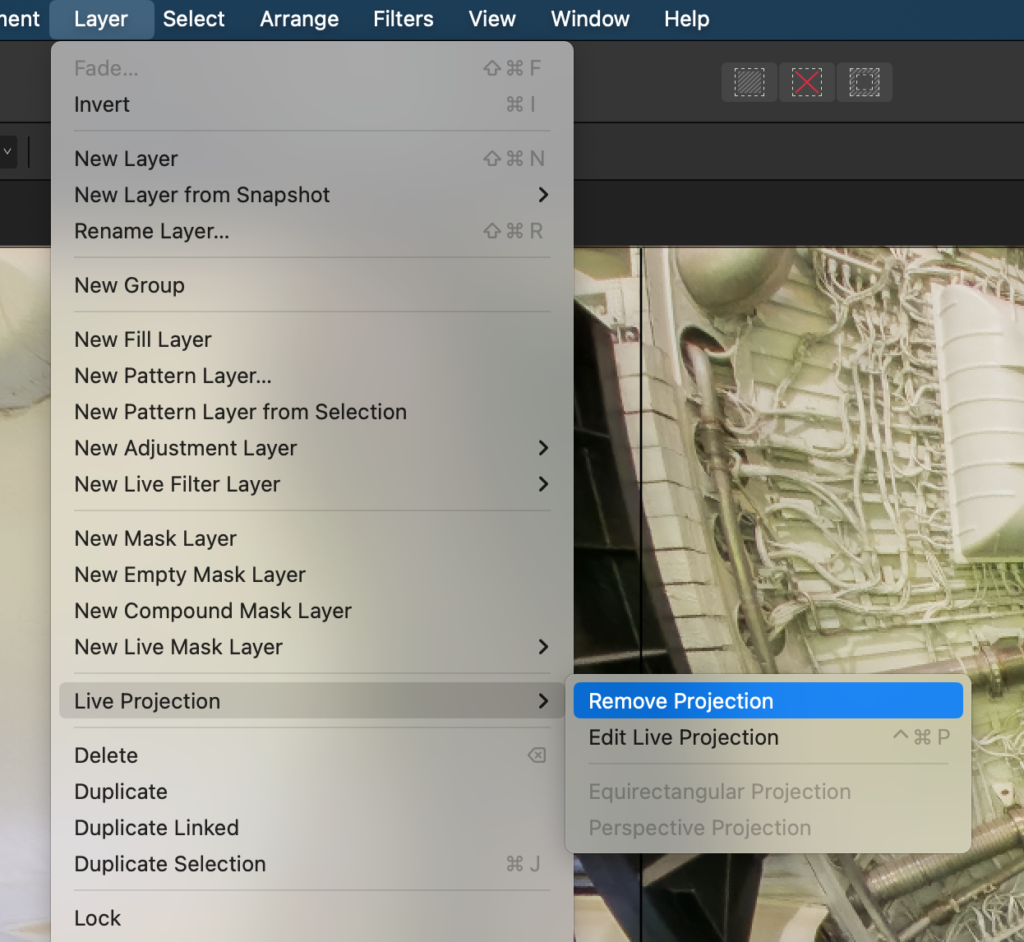
Next, select the “Layer” menu, then “Live Projection,” and finally “Remove Projection.” Save and close your image. Then, open your image in Photoshop and perform an “Invert” twice to create a history. Save and close the image. This step ensures that Photoshop writes the file as Lightroom expects it.
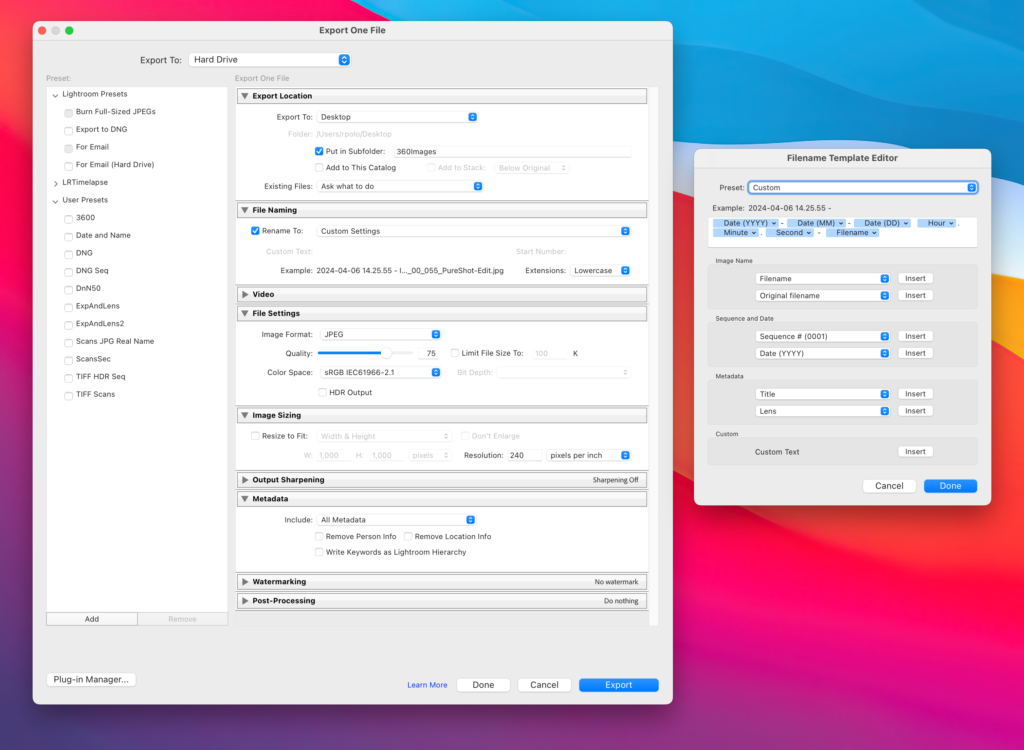
Now, return to Lightroom. Your 360° image with fixed colors, exposure, and leveled horizon is ready for export. In loupe mode, click the “Export” button. I have my own customized settings for exporting into JPEG.
The darn 360° metadata
For reasons beyond the scope of this guide, exported 360° JPGs sometimes lack the necessary metadata to be processed as a 360° image online. To rectify this, we need to insert the appropriate metadata into the files using a command-line utility called exiftool. Installing exiftool on your system can be done using various guides available online. Personally, I use Homebrew for this purpose.
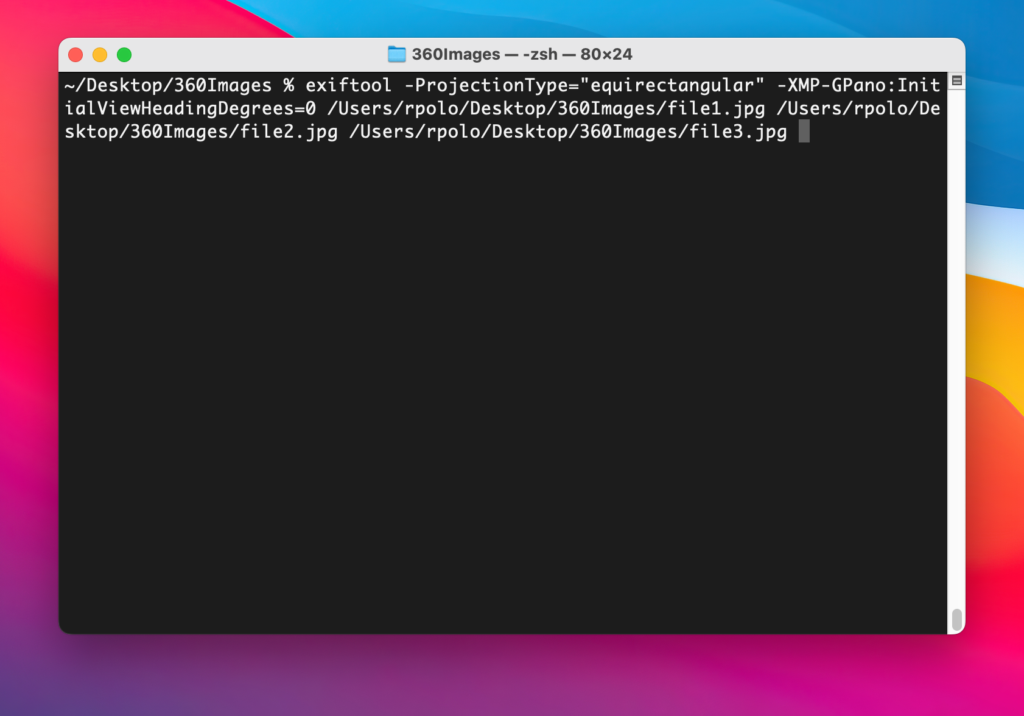
Here’s the command you’ll need to run in the Terminal:
exiftool -ProjectionType="equirectangular" -XMP-GPano:InitialViewHeadingDegrees=0 file1.jpg, file2.jpg, file3.jpg... etc.Simply drag all your JPG files into the Terminal after typing this command so that exiftool receives the paths of each file.
And here is the result: