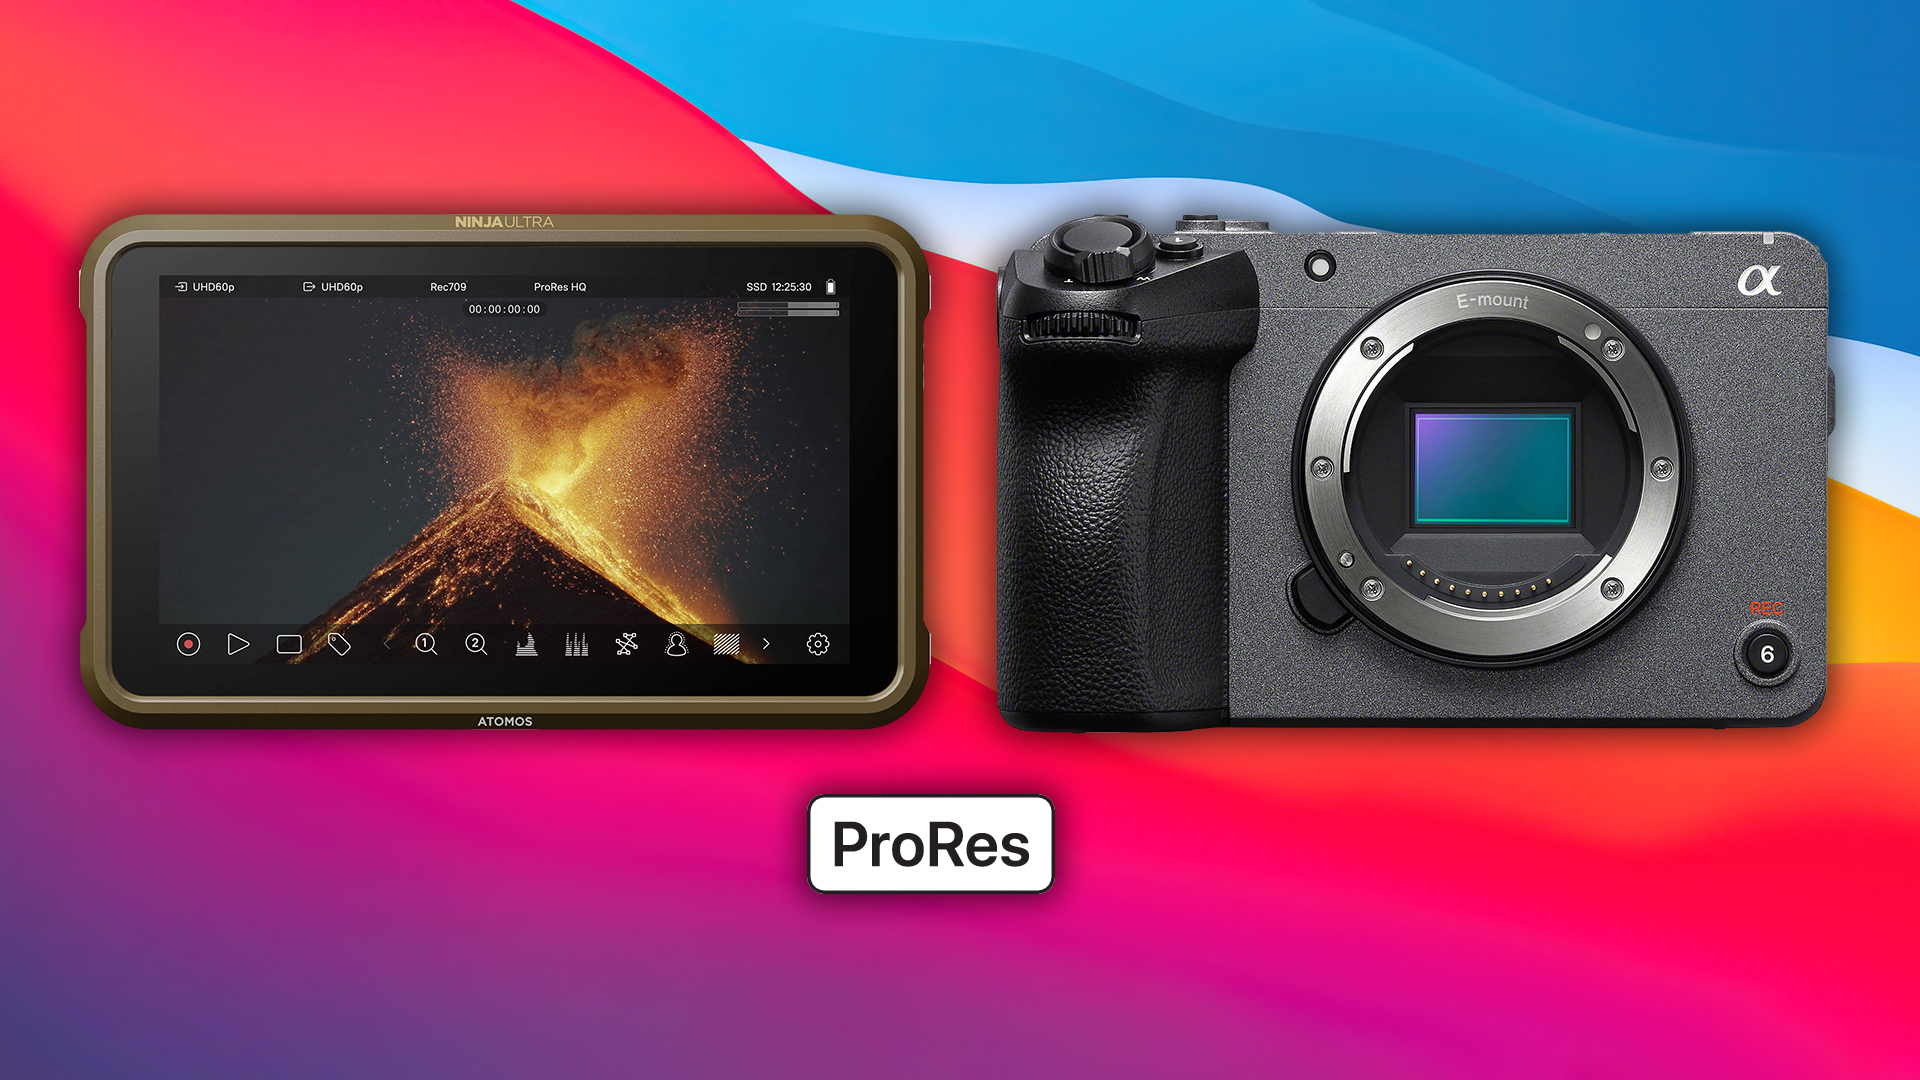
FX30 + Ninja V + ProRes HQ, How to…
Since the release of the Atomos Ninja V, many new cameras have been released, among them, the Sony FX30, but the lack of documentation by both, Sony and Atomos on how to record S-Gamut3.Cine/S-Log3 using the Ninja V in Apple ProRes HQ, its astonishing. So this guide will show you, just like with the EOS R5, how to get external recordings in S-Gamut3.Cine/S-Log3 that look exactly like the internal recordings using the Atomos Ninja V with the FX30, following these simple steps:
- Set the HDMI output of the Sony FX30 to S-Gamut3.Cine/S-Log3
- Load and fix the Sony FX30 Technical LUTs into the Atomos Ninja V
- Set the Atomos Ninja V for the Sony FX30
Set the HDMI output of the Sony FX30 to S-Gamut3.Cine/S-Log3
Press the MENU button, go to 2 Main2, and enter the Log Shooting Setting.


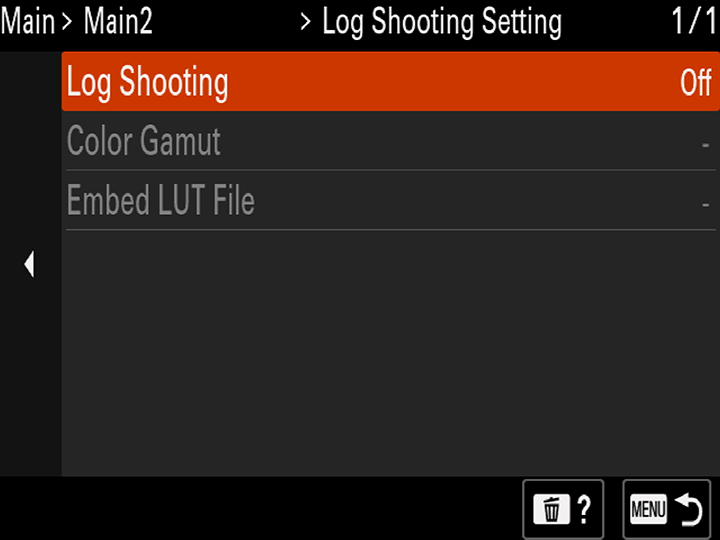
Select Log Shooting and set it to Cine EI or Flexible ISO.

Under Color Gamut, select S-Gamut3.Cine/S-Log3.

Go to Main1 menu, and select the Select LUT option.


Under Select LUT, choose S-Log3.

Under the Display LUT option, select Off, yes, those two last steps, are the way to “turn off” any preview correction or View Assist off.


Voilà! Now the Sony FX30 outputs an HDMI signal in S-Gamut3.Cine/S-Log3.
Load and fix the Sony FX30 Technical LUTs into the Atomos Ninja V
The Sony FX30 Technical LUTs are available on their official website and can be directly downloaded following this link: Technical LUT_Standard.zip
The issue with the Sony Technical LUTs and the Atomos Ninja V: The slog3_sgamut3_cine_to_rec709.cube, slog3_sgamut3_cine_to_rec709_-1stop.cube, slog3_sgamut3_cine_to_rec709_-2stop.cube, and slog3_sgamut3_cine_to_rec709_-3stop.cube files use the [TAB] character to define the LUT size, preventing this LUTs to be loaded into the Atomos Ninja V without an error, you’ll need to edit each file to replace the tab character with a space in order to load the LUTs into the Atomos Ninja V, after replacing every TAB character with space, you can load it into the Ninja V.
Loading the Technical LUT
- Copy the
slog3_sgamut3_cine_to_rec709.cubefile onto the Ninja V’s SD Sata Drive, then plug it into the Ninja V. - Select the gear icon on the bottom right of the screen.
- Navigate to the
LUTstab. - Choose the desired LUT slot to load the LUT, then tap on the folder icon.
- Select the
slog3_sgamut3_cine_to_rec709.cubeLUT. - Navigate to the
Monitorsetting and selectLUT.
Set the Atomos Ninja V for the Sony FX30
- Do NOT enable any toggles under the
Inputtab, nor HDR neither legalize if you use DaVinci Resolve as your NLE, if you use Adobe Premiere, enable the Legalize toggle while recording, not for previewing or exposure and/or white balance on the Ninja V. - Enable False Colors for exposure, adjusting the exposure on the FX30 while shooting at an 18% Grey Card.
- Using the RGB Parade, set your White Balance while pointing at an 18% Grey Card, setting the White Balance on your camera until the Grey Card appears at the same height on the RGB parade.
If you have a X-Rite/Calibrite ColorChecker Video card, you can set your exposure using the Waveform or false color:


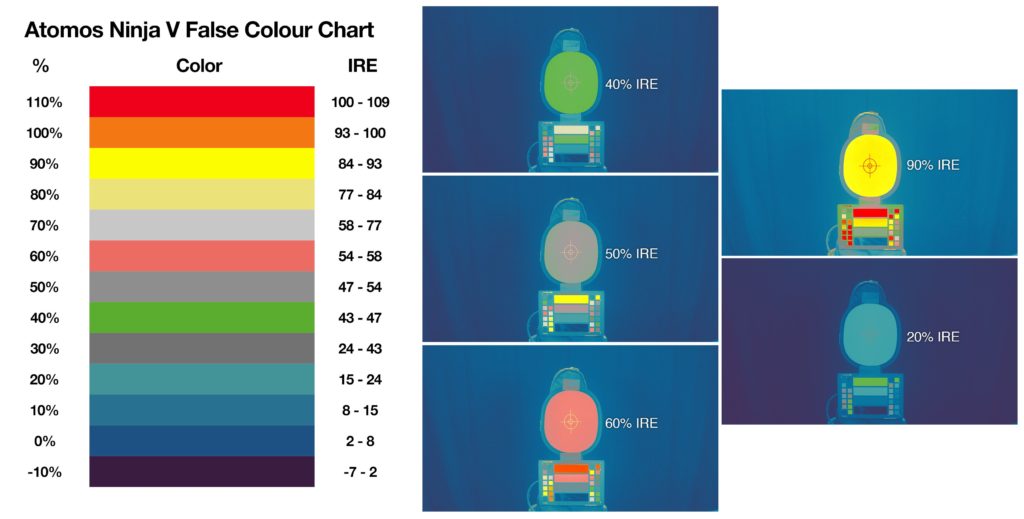
And that’s it, now your external recordings will look exactly the same as internal recordings, if you want to learn on how to create a custom LUT for your FX30, check this other guide, and how to use false colors for exposure here.
Sample files:
- FX30 XAVC HS 4K 422 10bits 23.98fps full range internal.MP4
- FX30+Ninja V ProRes HQ 422 10bits 23.98fps full range internal.MOV (requires setting the levels to full in DaVinci Resolve)
