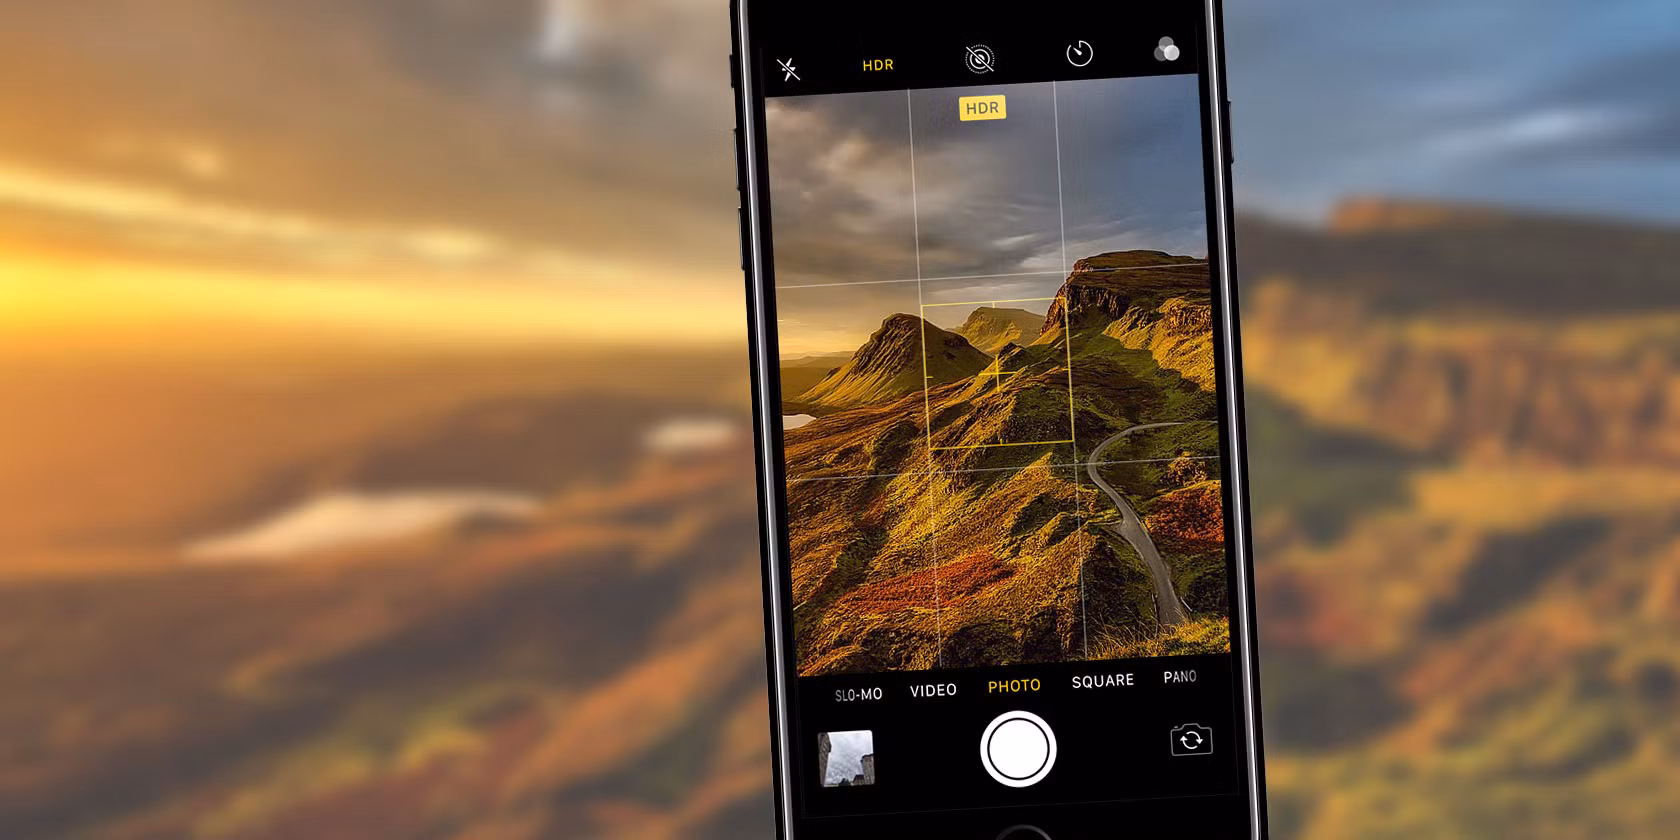
iPhone HDR video in Resolve the right way!

There are tons of videos explaining how to grade iPhone HDR footage to SDR/Rec.709, and they’re all 100% wrong – because none of them address the real problem: IT’S HDR! The TL;DR is this: iPhone HDR video is recorded in full-range (0-255), but DaVinci Resolve assumes it’s in video/legal range (16-235) by default.

Recently I finally had enough free time to tackle a bunch of “compatibility” issues that had been sitting on my to-do list for ages. Here’s what I figured out:

  1. Atomos Ninja V + Canon EOS “Legalize” nightmare
    Some Canon EOS cameras always output Rec.2020 over HDMI, even when you’re shooting in Cinema Gamut. The usual workaround was: enable “Legalize” on the Ninja → apply a technical LUT for exposure/WB → disable “Legalize” again to record full-range. Then I thought… why not just combine the technical LUT with one that legalizes the signal at the same time? One single LUT that lets me preview a legalized image with all the technical adjustments and still record full-range. I built it – and it works perfectly.
  2. Applying LUTs in OBS or Ecamm Live to LOG footage via Elgato capture devices
    Those Elgato cards choke on HDR/Rec.2020 10-bit. The only reliable workaround I found was dropping the camera to 1080p 8-bit Rec.709. Not ideal, but at least you can actually grade and customize the color properly.
  3. HDR Blu-ray reference footage looking like garbage in Resolve
    Even with the correct Color Space Transform settings, it was crushed and ugly… until I realized: HDR uses full-range, not video-range! As soon as I set Data Levels to “Full” in the clip attributes, everything snapped into place and looked perfect.

And then the light-bulb moment hit me: HDR is always full-range, but Resolve assumes video-range by default. So I pulled up some old iPhone HDR clips, switched their Data Levels to Full – and boom – no more clipped highlights or shadows. It looked almost identical to QuickTime Player, just needing a tiny tweak. I baked those adjustments into a single LUT and now it’s 99% indistinguishable from the original QuickTime HDR playback.

Here’s exactly how to use it in DaVinci Resolve:

  1. Drop the LUT into your LUT folder.
  2. Set Project Settings → Color Management → Color Science to DaVinci YRGB and Timeline Color Space to Rec.709-A (or just Rec.709 Gamma 2.4, whatever you prefer).
  3. Import your iPhone HDR clip and put it on the timeline.
  4. Right-click the clip → Clip Attributes → Data Levels → Full.
  5. Apply the LUT (either via right-click → LUT, or drop it on a node in the Color page).

That’s it. Suddenly you have all the latitude of the original HDR file with zero hassle.

Download the LUT, If these save you time (or money), feel free to buy me a coffee: https://www.paypal.com/paypalme/RodrigoPolo

Leave a Reply

Your email address will not be published. Required fields are marked *

Releated

Grading The Batman (2022)

Since I saw The Batman (2022) in theaters, I thought the image was far too dark, I could barely see the characters’ faces at all. At first, I assumed it was a problem with the theater’s projection. Then I bought the Blu-ray and watched it on an HDR TV, and it was still way too […]

Custom LUTs on capture cards

When I saw that OBS and Ecamm Live, both support Look Up Tables (LUTs) into the live video, I was quite exited, but never had the chance to try them out, until recently, and oh boy, it was quite disappointing, and it is not their fault, but the lack of information and documentation by all […]